CoDeKu DevOps Academy Blog - DevOps & Cloud Blogging Platform
Table of Content
Introduction 📄
One of Docker’s most useful features is image tagging and versioning, which helps teams manage different versions of an application effectively. In this blog post, we will look at these ideas through a practical example. We will deploy a simple portfolio website using Nginx in Docker. We will cover writing a Dockerfile, creating containers, using volumes for dynamic updates, and tagging versions to avoid overwriting images. Finally, we will explain how to push these versions to Docker Hub for sharing or deployment.
Folder Structure 📁
We are going to host a portfolio website using nginx. So here, we need portfolio project files and a Dockerfile for building the nginx Docker image. Let’s see the folder structure.
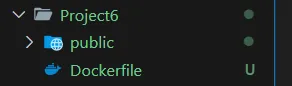
Here, we use the public folder for storing all the project files. And there is a file called Dockerfile that can be used to build our Docker image. Now let’s see how to write the Dockerfile for this project.
Write a Dockerfile 📝
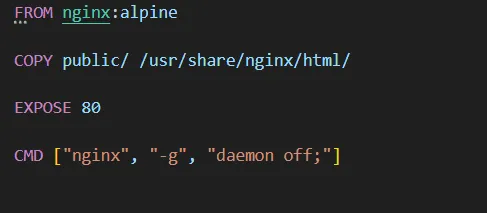
Because of using nginx, the base image should be nginx. So that is specified in the first line. Next, we are copying all the project files and pasting them into the nginx root folder. And then, port 80 is exposed as the host. Finally, we have written the fourth line to run the container.
Build a Docker Image 🏗️
docker build -t proj6-image .
We can build the proj6-image Docker image using the above command.
Create a Docker Container 📦
docker run -d --name proj6-container -p 3002:80 proj6-image
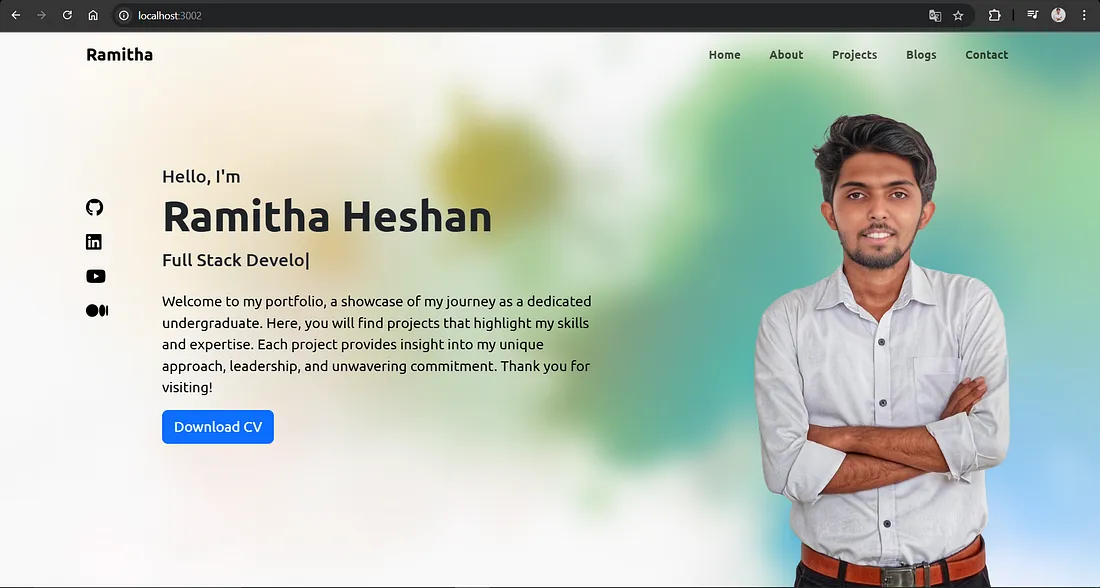
We can create the proj6-container container using the above command. Here we have matched the local PC’s 3002 port with the container’s 80 port and used the Docker image called proj6-image. Now we can check the local PC’s 3002 port, and you will see the below type of output.
Update the Container with a Docker Volume 🔄
If we change some files in our project, they are updated only on our local machine. We can not see the dynamic updates on our containers. So that’s why we need Docker Volumes here.
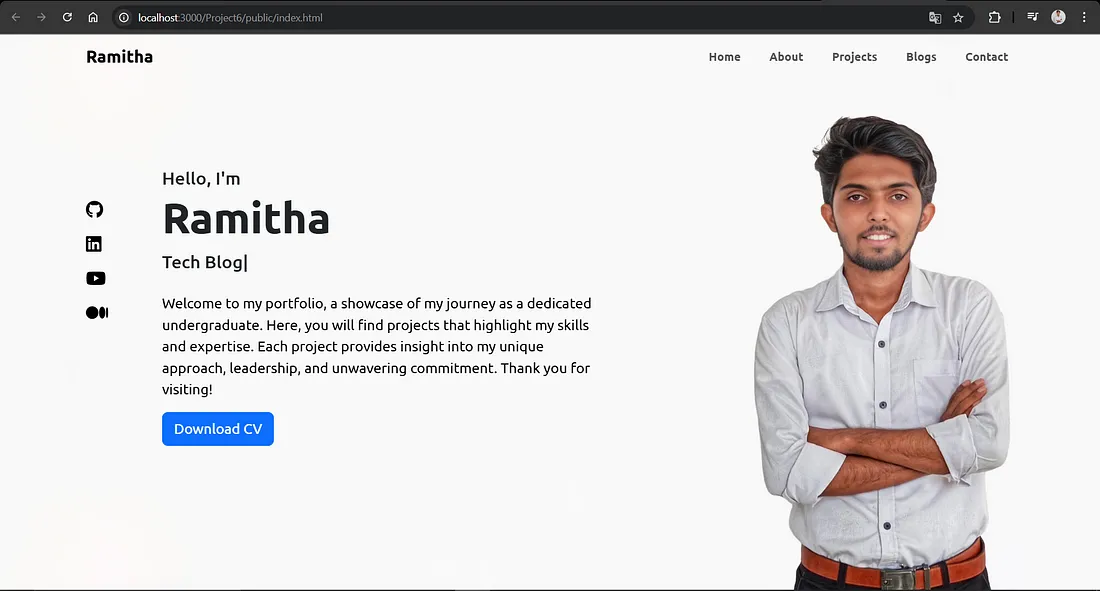
This is the local machine’s output (port number 3000). You can see here that the name is updated as Ramitha. But now let’s see the container’s output.
You can see the output of our Docker container. It still shows the before output (name is Ramitha Heshan).
docker run -d --name proj6-container-vol -v ${pwd}/public:/usr/share/nginx/html -p 3003:80 proj6-image
With this command, we can create a Docker container with a Docker Volume. Now we can see the project dynamically changes in the proj6-container-vol container.
Check containers without tagging 🔍
Now let’s see what happens if we create the same container without specifying any tag or version.
docker build -t proj6-image
docker images
Here, we have created a new Docker image, and you will see the below type of output in your console.

Here, you can see that the first image(orange color) is overridden by the second (yellow color) image. Therefore, we cannot use the first image. We can use the tagging and versioning concept to solve this problem.
Check containers with tagging 🏷️
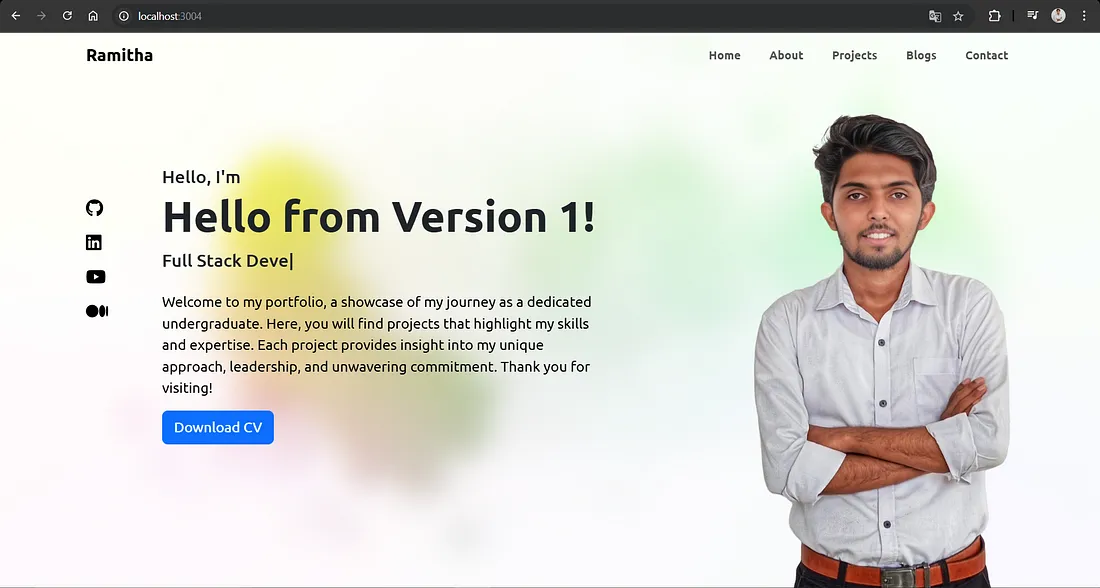
First, you can make some changes to your project files. And then we can create the first version like below. As the change, I have bolded the “Hello from Version 1!” text.
docker build -t proj6-image:latest .
docker tag proj6-image:latest proj6-image:v1
Let’s imagine this is the only change from version 1 to version 2. In the real world, there are multiple changes. But we use this only for the explanation part. After changing the project files, proj6-image Docker image is created and its port is v1.
docker build -t proj6-image:latest .
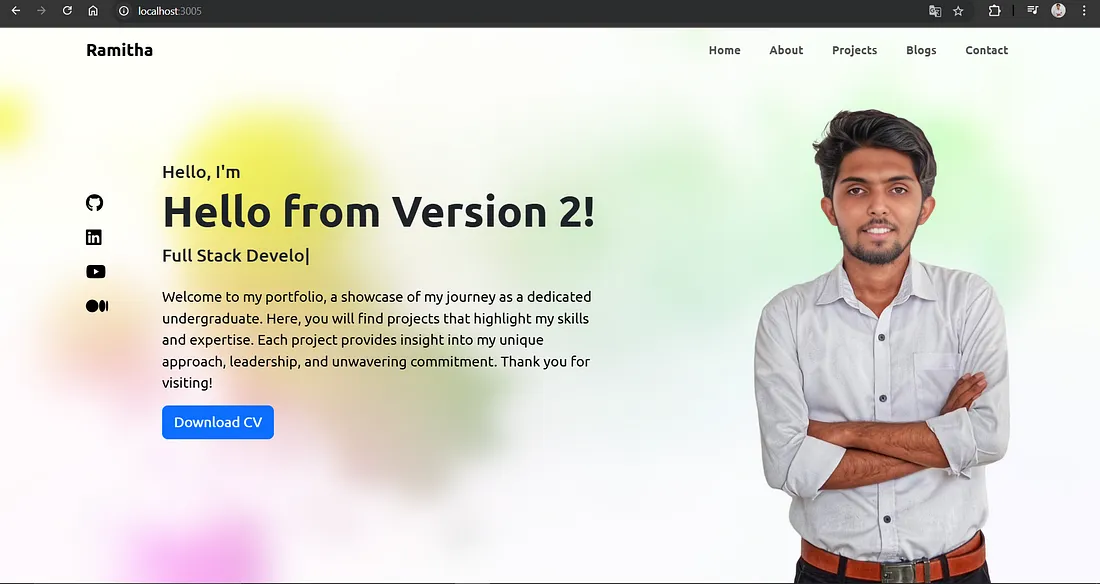
docker tag proj6-image:latest proj6-image:v2After changing the project files of the version 2, a Docker image is created called proj6-image and it’s port is v2. Now we can check our ports outputs and the terminal output.
Terminal Output

Now you can see the terminal output without any image termination.
Port Outputs – version 01
Port Outputs – version 02
Pushing to Docker Hub 🚀
For this, you have to go to the Docker Hub and create a repository with a specific name. Below is my repository.
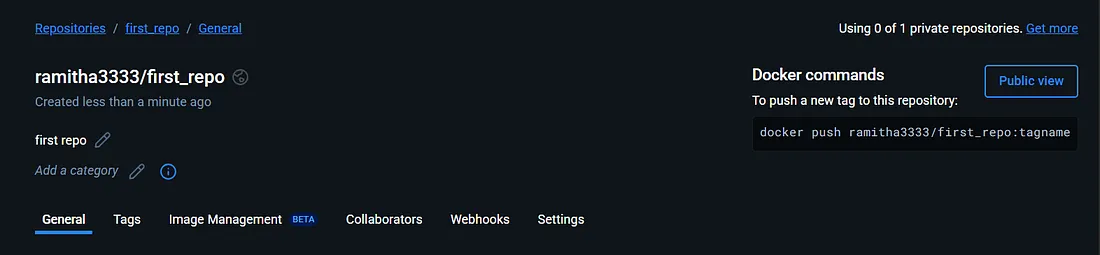
My repository name is first_repo. Now we have to set our Docker images properly.
docker tag proj6-image:latest ramitha3333/first_repo:latest
docker tag proj6-image:v1 ramitha3333/first_repo:v1
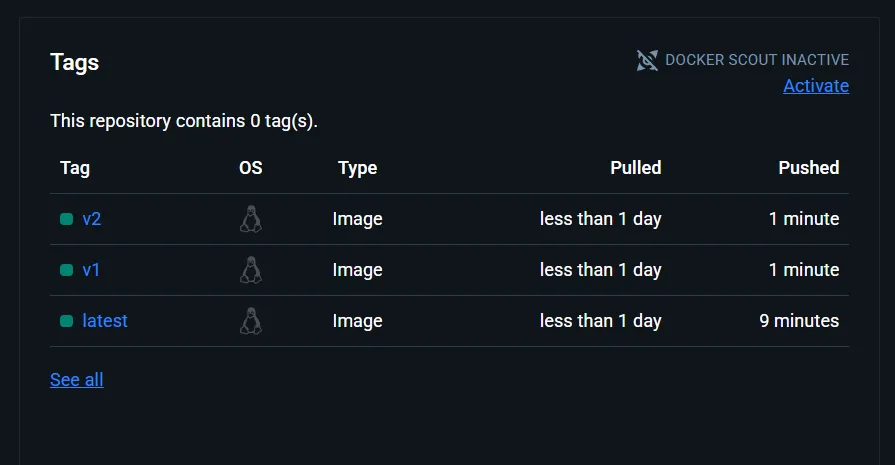
docker tag proj6-image:v2 ramitha3333/first_repo:v2Now you can push these images to the Docker Hub. For that, first, you have to log into the Docker Hub. and then you can push you images one by one like below.
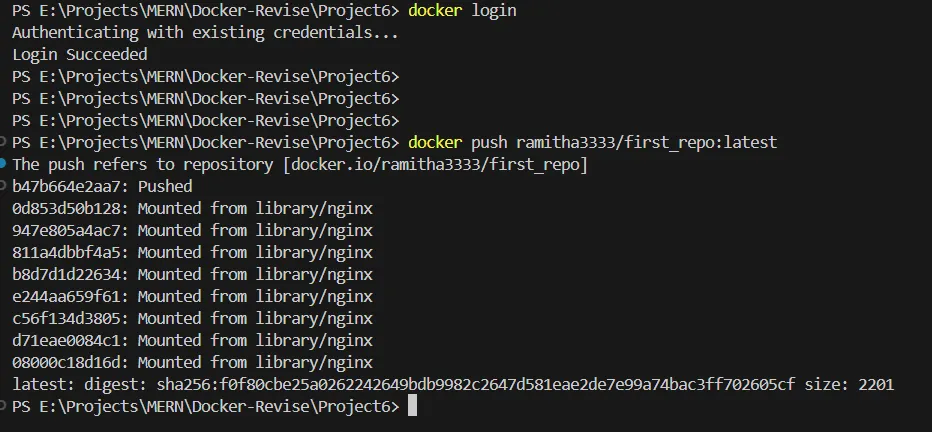
After pushing your images successfully, you will be able to see below type of output on your Docker repository.